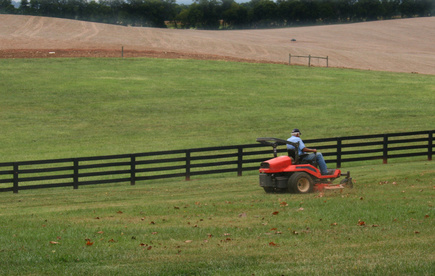
 How to change a riding mower belt
If your riding mower's drive belt is slipped or squealing, it probably needs to be changed. Fortunately, this is a fix that most lawnmower owners can do on their own instead of having to take the mower to the shop for expensive repairs. Look up the part number in your mower's instruction manual before buying a replacement belt to make sure you get the correct one. Check the manufacturer's website if you need a copy of your instruction manual.
- Instruction manual
- Adjustable wrench
- Drive belt
Check the instruction manual for the location of your mower's drive belt and the tensioner that holds it in place. Unscrew the tensioner bolt until you can move the pulleys at each end of the drive belt. Move the pulleys inward and remove the loosened belt.
Loop the new drive belt around the two tensioner pulleys. Look in your instruction manual to find the correct amount of slack that should be left in the belt. This is generally a finger's width for most types of riding mowers. Push the two pulleys away from each other until you have the proper tension. Lock the belt in this position by tightening the tensioner bolt.
Drive the mower around a clear, flat space to test the positioning of the drive belt before you use it to cut grass again. Pay particular attention to squealing sounds, shaking or vibration. These are usually signs that the tension needs to be adjusted. Repeat the prior steps to re-seat the belt and test it again.

